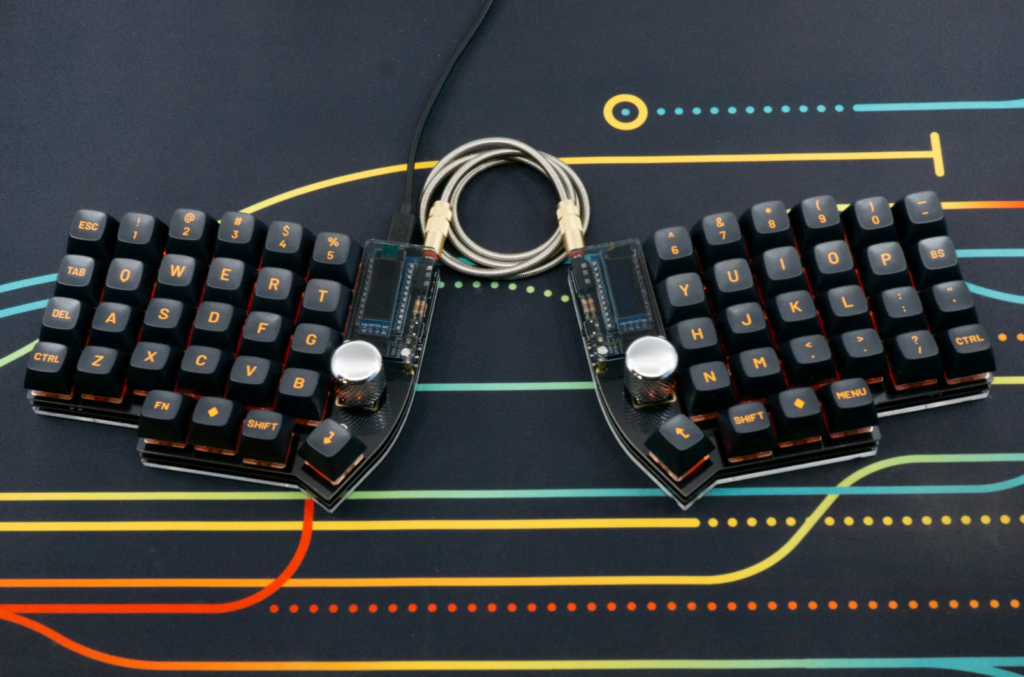
Lily58 Keyboard
the lily58 is a split keyboard that is known to be the best introductory keyboard for those trying out split keyboards for the first time. the parts of this keyboard is open-source, which means you can order the pcb and parts and make it yourself for probably much cheaper than buying kits. however, since this is my first ever fully custom build, and im not very familiar with the building process, i decided to test it out and got me a kit with only the parts i wanted. it was still pricey but i hope with this experience i can learn a lot and just simply have fun with it 🙂
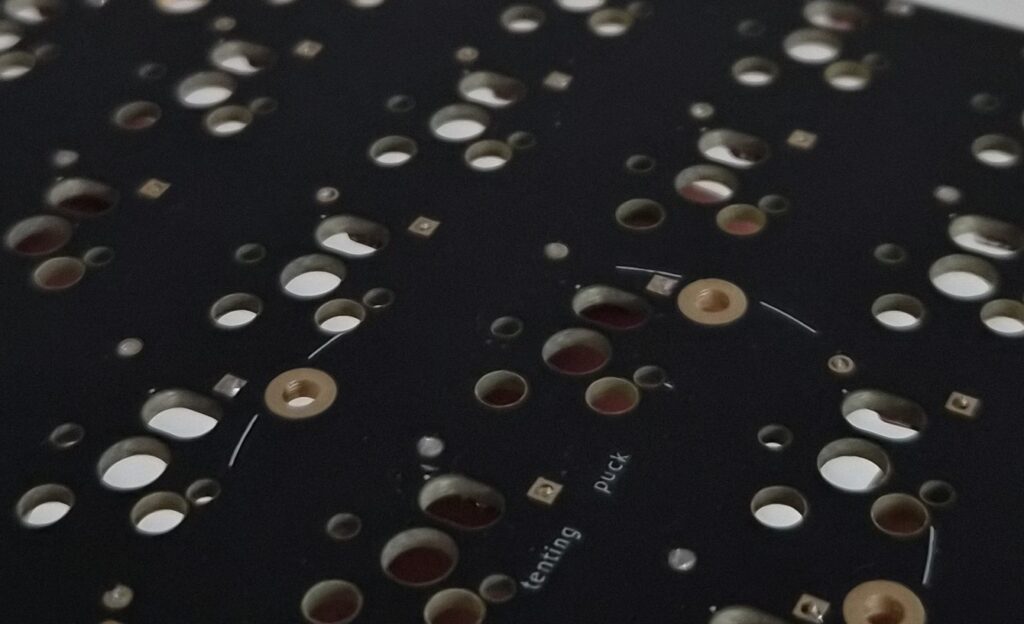
image credit is splitkb.com where i bought this kit! check them out!
interested in the parts list? here they are!
| Aurora Lily58 PCB Kit MX Hotswap | SK6812MINI-E RGB LEDs 66 LEDs | SSD1306 OLED Display 128×32 / Two Displays / Blue | Low Profile Socket Strip / 4 positions Set of 2 | Coiled Angled TRS Cable 20cm |
| Knurled Metal Encoder Knob Silver | Aurora Lily58 Low Profile Case Top Plate / Black FR4 / rev2.0 / Set of 2 | Mill Max Low Profile Sockets Set of Sockets with Headers | Aurora Lily58 Low Profile Case Bottom Plate / Clear Acrylic / Set of 2 | Gazzew Boba U4T Thocky Tactile Switch 65g / Clear / 10 pcs |
| Liatris Microcontroller | Aurora Low Profile Case Hardware Kit | Tactile Rotary Encoder |
preface
i dont remember where my interest in keyboards started, my first ever keyboard was probably the razer huntsman mini and i did not mind it much. i started looking at keycaps and then switches and began to have a preference for them. then for some odd reason i decided i wanted to build one myself, and by build i mean literally just assemble the pre-made parts. that was my first time manually lubing switches and i got interested in how they worked. after that, i met some people who were much more into keyboards than i was, and they were talking about their first builds. thats when i heard about the lily58, and to be honest, ive been thinking about getting a split keyboard for a while. i had looked at some pre-built ones previously like the moonlander but since i was picking up electronics again i thought why not just build my own! i was too worried about starting fully from scratch so i bought a kit, and so, my adventure began!
building
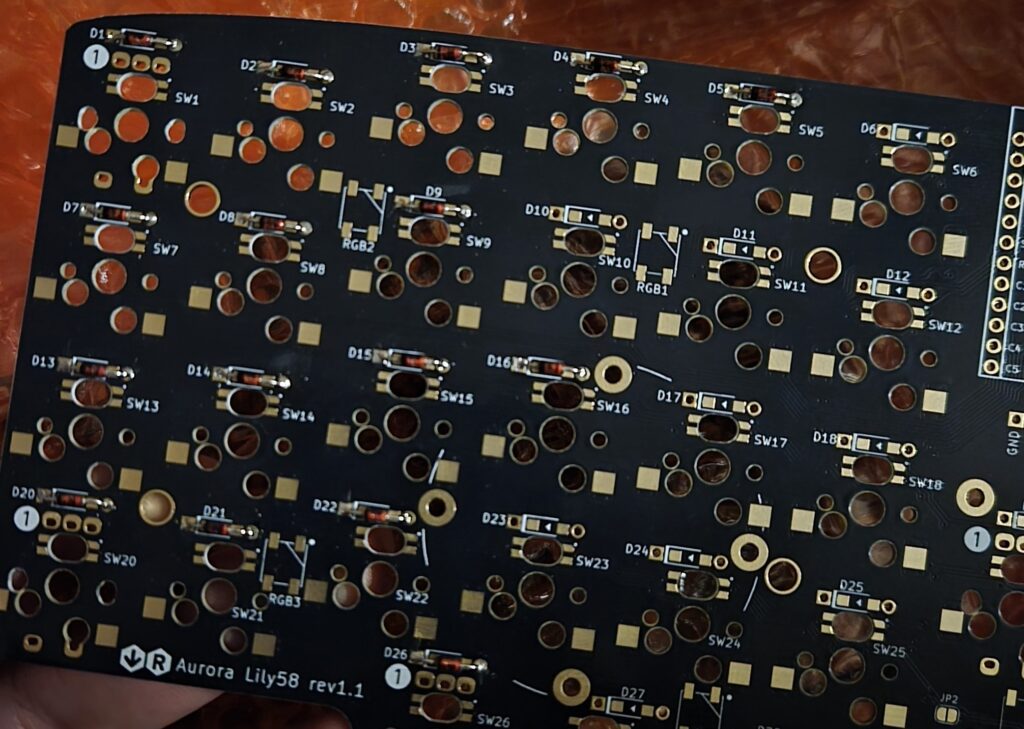
the first step in building the keyboard is to solder the diodes into the pcb. i have tried soldering before but it was a long long time ago so i was excited to do this! in total, i had to solder 58 diodes and i did it over two days. in each day i had spent 2 hours in the morning working on it, i managed to solder 16 on the first day and finished off the rest in the second!

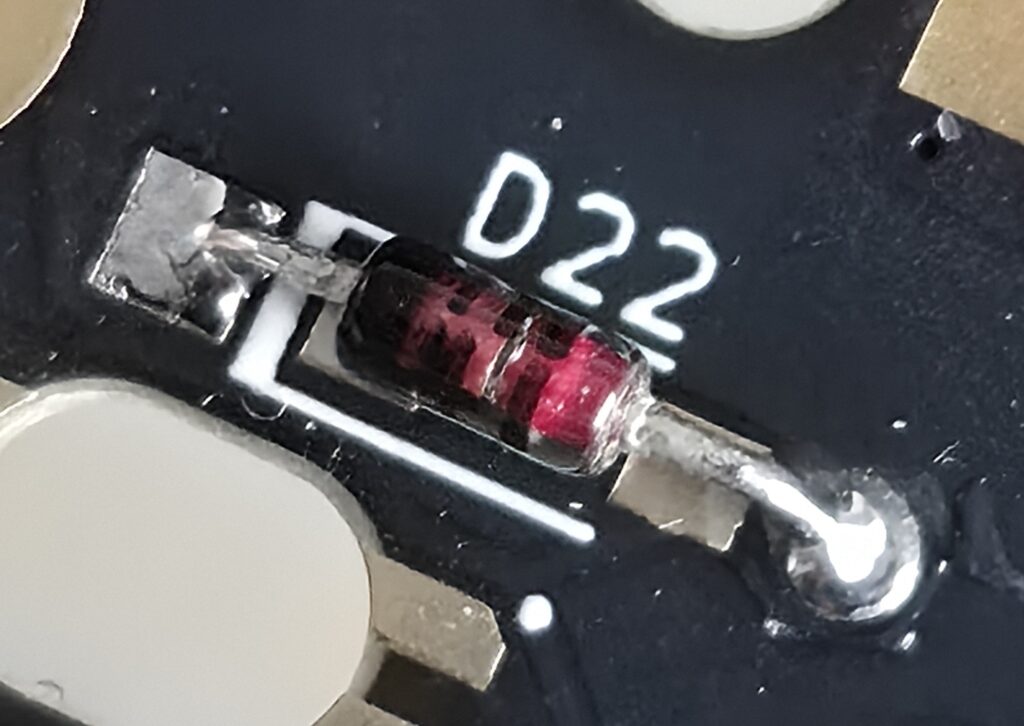
i was happy with how i soldered some pins, they really turned out nice!
by the end of the second day i had finished all the diodes, but i had a problem. you see, i dont have any electronic equipment where im at right now, so a really good friend of mine (who i suspect might secretly be a ghost..) let me into their lab to use their stuff. their wire cutter is really bulky, so when i trimmed the excess wires from the back they were not flush and actually ended up stabbing me on multiple occasions :sob: but!! when i was looking through my crochet stuff, i found the wire cutter i use to make crochet flowers and it was perfect for the job! it was really sharp and close to the pcb, so it looks very neat now and i can barely feel the pins.
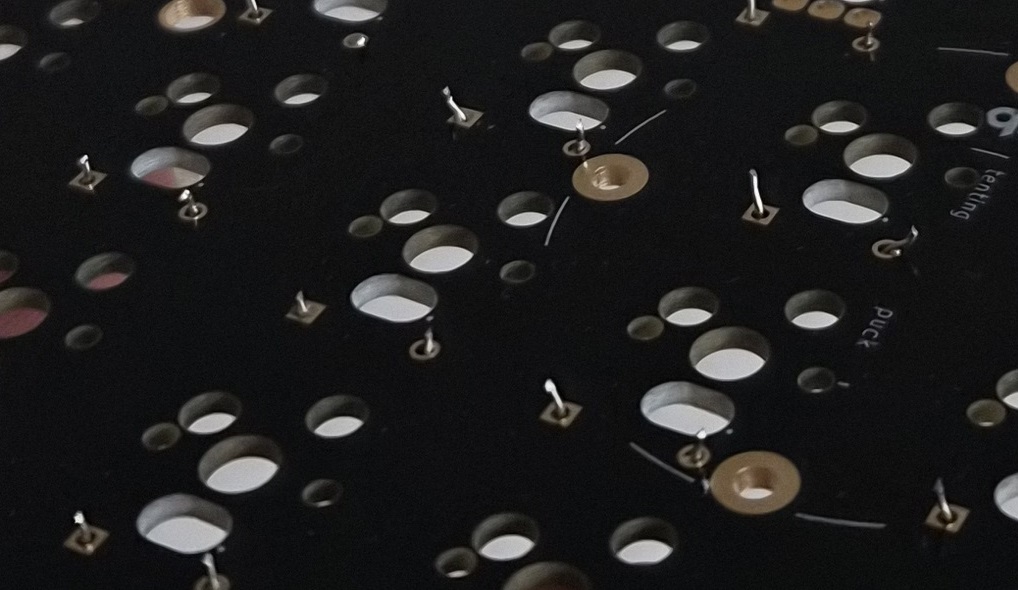
–>
so much cleaner isnt it! the next step after this is to solder the per-key rgb. they are placed right under the diode and they’re very tiny. i will have to solder four pins per rgb and they are heat-sensitive so i need to be careful…
< i will be updating this page with my progress so check back from time to time! >